
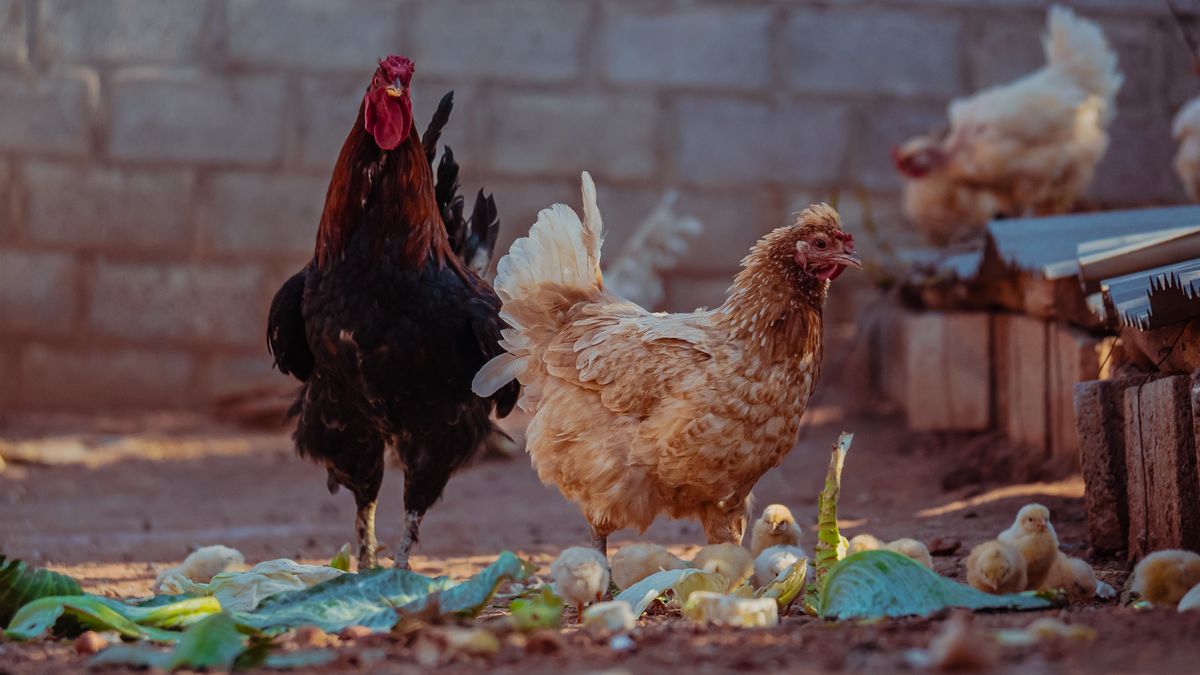
A coop that smells sharp and ammoniac isn't just unpleasant to open on a winter morning — it's actively harmful to your birds. Ammonia fumes rise from damp, soiled litter and irritate the lining of the respiratory tract, leaving hens vulnerable to mycoplasma, infectious bronchitis and secondary bacterial infections. Add red mite hiding in every crack, coccidiosis oocysts in the soil, and the odd bout of scaly leg mite, and you have a flock that never quite thrives.
Cleaning is also where you get your best early warning system. Handling each hen as you work, checking droppings, and running a torch along the perch ends tells you more about flock health in twenty minutes than a month of glancing through the pop hole. Done properly and regularly, a deep clean takes under an hour and pays you back in fewer vet bills, better laying and calmer birds.
Forget the idea that one big spring clean will do. A practical rhythm for a typical UK garden flock of three to eight hens looks like this:
Increase the frequency in wet weather, during a moult, or if a bird has been unwell. Damp conditions in autumn and winter can undo a fortnight of good work in a couple of days.
Gather everything before you start so the coop isn't standing open while you hunt for a scrubbing brush. You'll want:
Vinegar solution is a useful degreaser before disinfecting, but remember it cleans rather than disinfects. Household bleach and heavy-duty garden chemicals have no place in a coop — residues linger on surfaces that hens peck and scratch.
Choose a dry, still morning so surfaces have the best chance of drying. Move feeders, drinkers and any loose equipment outside, then strip out every scrap of bedding, including nest box contents. Don't compost fresh poultry litter straight onto the veg patch — stack it to heat up for several months first, or bag it for the council collection.
Scrape perches, floors and the tops of nest boxes to remove the compacted layer. Work from the top down: roof, walls, perches, then floor, so nothing lands on what you've already cleaned. A handheld torch is invaluable here — red mite cluster in the joints where perch meets wall, in the groove of the pop hole, and under felt roofing.
Wash with hot water and a little poultry-safe detergent, paying attention to corners and the underside of perches where mites and lice eggs hide. Rinse with clean water, then apply disinfectant at the correct dilution and leave it to work for the full contact time stated on the label. This is the step most people rush, and it's the one that actually kills pathogens.
Rinse every treated surface thoroughly with clean water. Disinfectant residue left on perches can burn the soles of your hens' feet, and anything they can peck they will taste. Once rinsed, let the coop dry completely with the pop hole and vents open.
This drying stage is non-negotiable. Damp wood and damp bedding encourage Aspergillus mould, which causes respiratory disease in chickens and is particularly dangerous to chicks. It also drives the ammonia cycle and creates ideal conditions for coccidiosis. On a still day, give a wooden coop several hours; a plastic coop dries far faster. Never put fresh litter into a wet coop — you'll simply seal the moisture in beneath it.
Once the coop is bone dry, lay 4–6 cm of dust-extracted shavings or hemp across the floor, and fill nest boxes generously with soft, clean material. Hens enjoy a deep, loose bed they can scratch and shape, and a well-bedded nest box means fewer cracked and dirty eggs. Avoid whole straw as floor litter in damp coops — it mats down and moulds quickly.
Between deep cleans, scatter a little diatomaceous earth sparingly in crevices (never as a dust cloud, as it irritates eyes and lungs), and give perches a wipe each week. Keep ventilation clear, don't overcrowd, and inspect droppings whenever you're in the run. A coop that smells of fresh wood and clean litter rather than ammonia is the single best indicator that your routine is working — and that your hens are living as well as they lay.

Hi, my name is Anthony kuber. I am artist and fashion designer.
I love to travel and writing blogging.
Your email address will not be published. Required fields are marked *
Software Developer & Writer
Hey, I'm Diva, a developer and writer blending code and creativity. I'm driven by a deep curiosity and a relentless pursuit of excellence. Join me as I craft digital solutions and captivating stories.


